

Gardening How-Tos


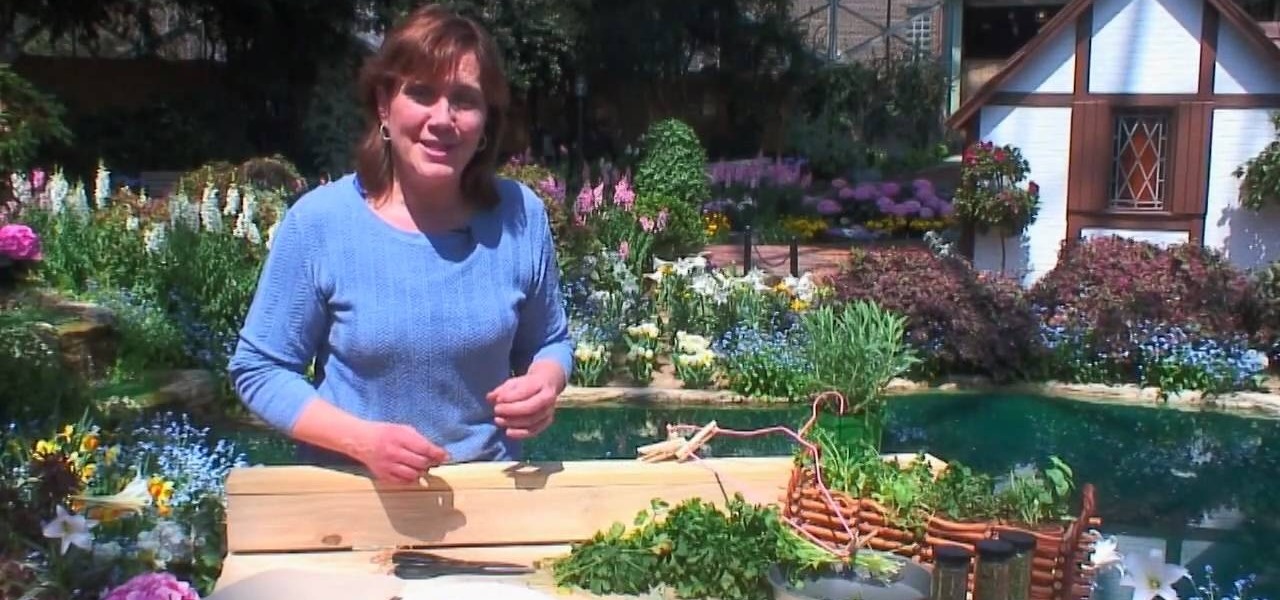
How To: Divide hosta
In this Home & Garden video tutorial you will learn how to divide hosta. Hostas are one of the best plants for your garden. They grow very fast. Hence, you have to divide them to keep them healthy. The best time to do this is either early spring or during fall. Take a flat shovel and dig a hole about 3-5 inches around the base of the plant and then pull it out. You can use a big knife, your hands or even the shovel to divide the bunch of plants. Move the foliage a bit so that you can see the ...
How To: Choose plants that love shade with Lowe's
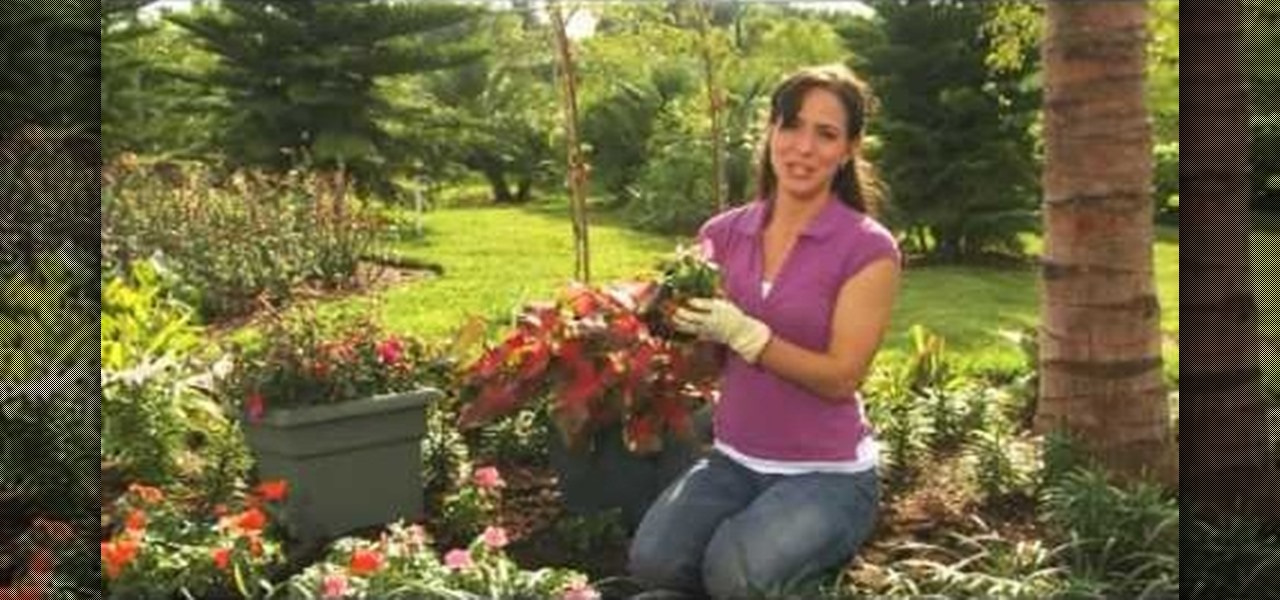
If you have a shady yard, you can still have a colorful garden. You just need to pick the right plants that do well in the shade. Caladium is a leafy plant with bright colored red, pink and green leaves. They do not tolerate cold weather and should be brought in over winter. Impatiens are popular annual flowers that grow in the shade. They look nice planted around the base of a tree or in containers. The flowers come in shades of pink, coral, white and red. Fuchsia is a beautiful flowering pl...

How To: Care for hydrangeas
Scott from Spring Hill Nursery with Step by Step Gardening teaches you some basics about hydrangea plants. He talks about how to take care of the plants, how to ensure blooming, and some planting considerations. Hydrangea plants need at least five hours a day in order to bloom so they should not be planted in very shady locations. The blooms can be pink, blue, green, or white, depending on the variety and soil conditions. The blooms can be used in bouquets, or dried for use in crafts. The pla...
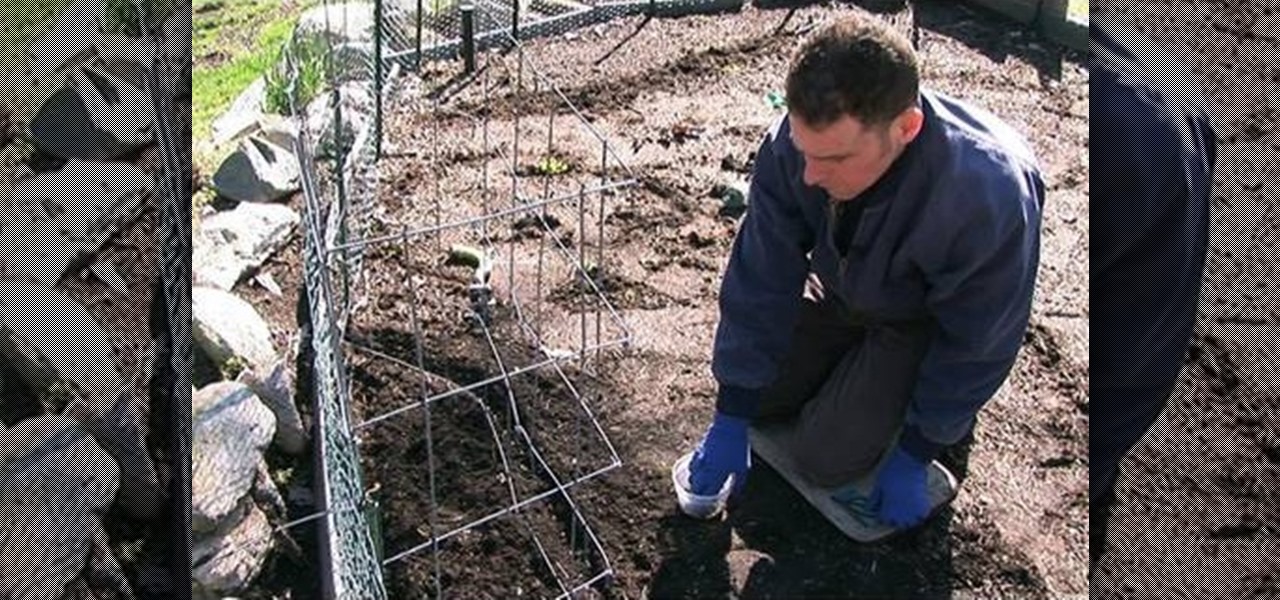
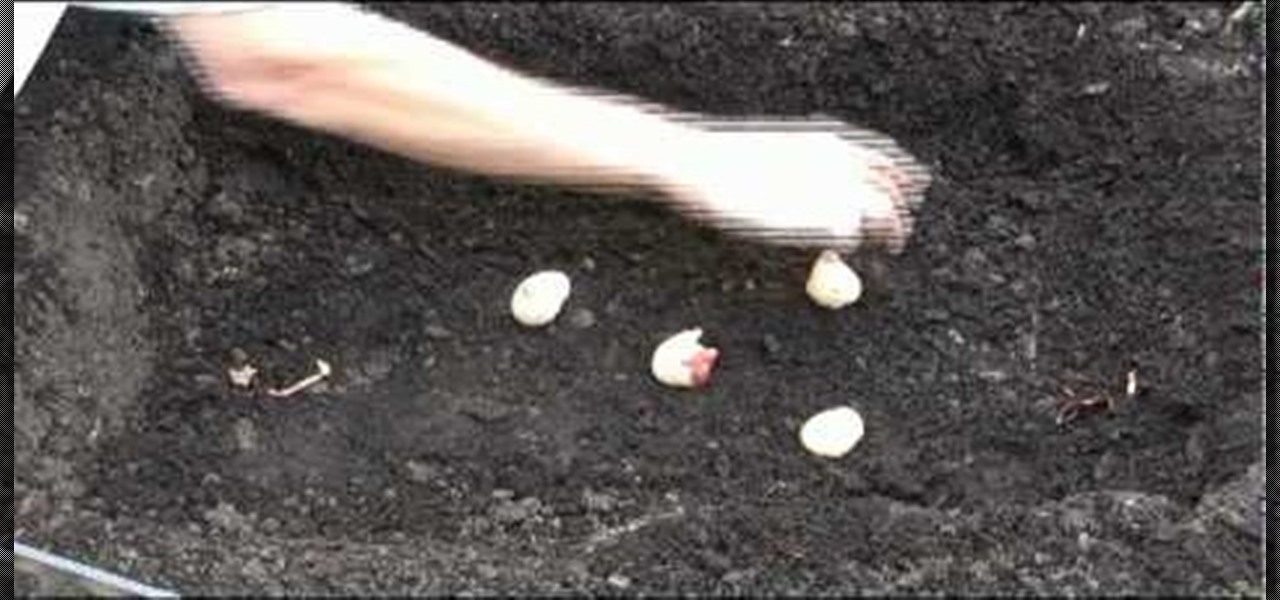
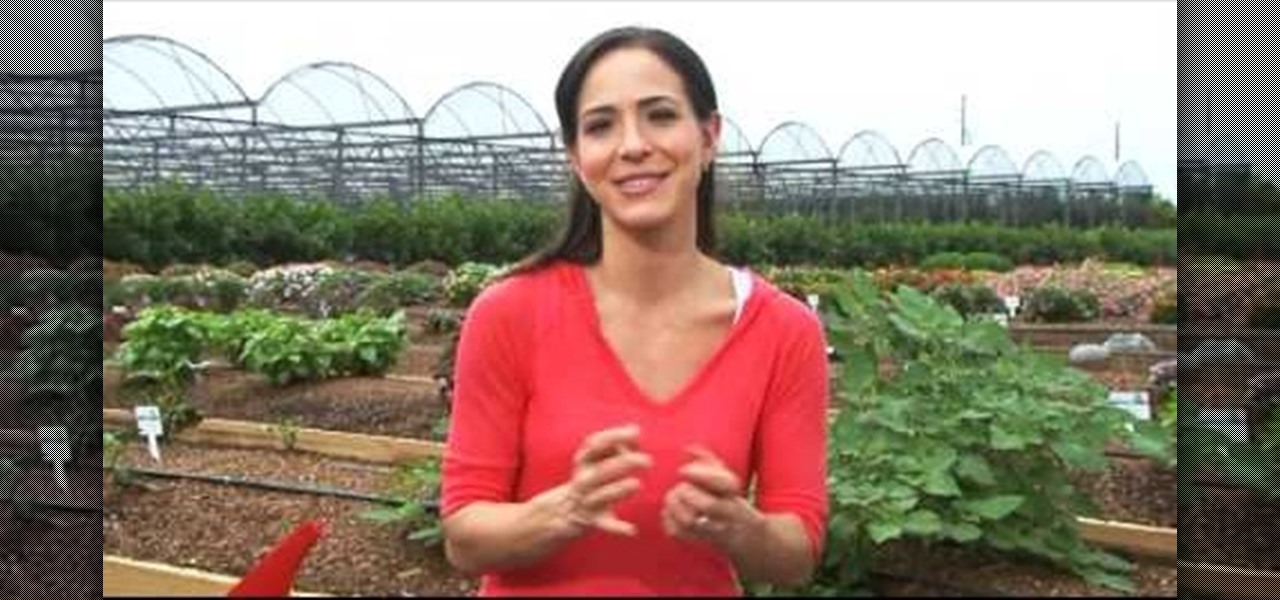
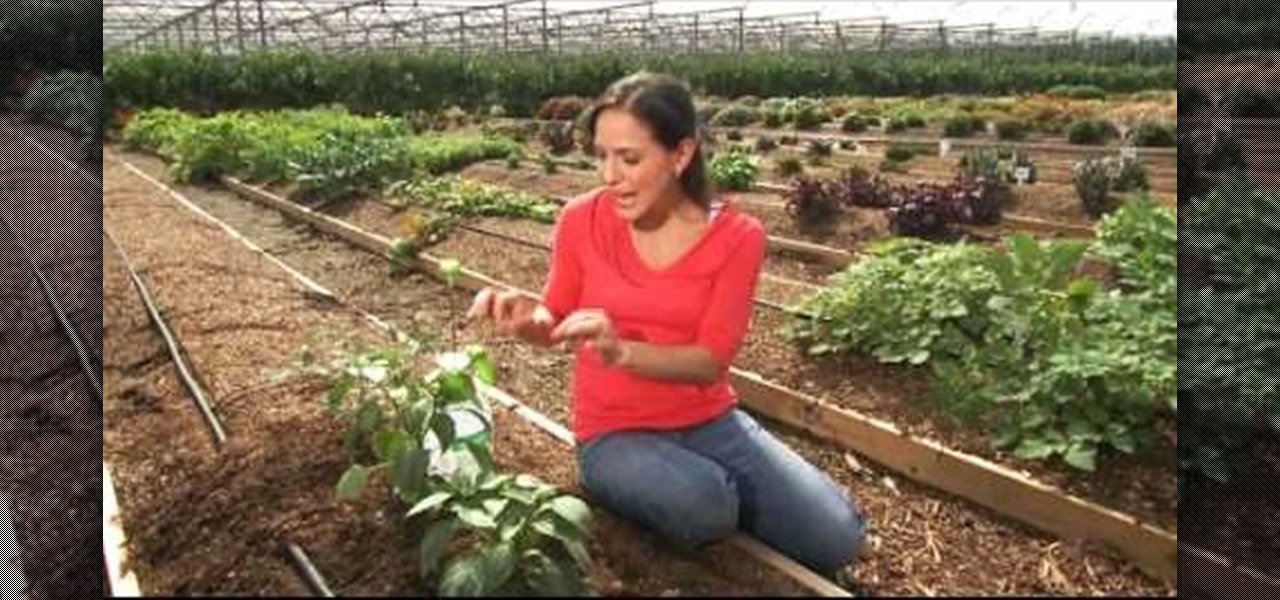
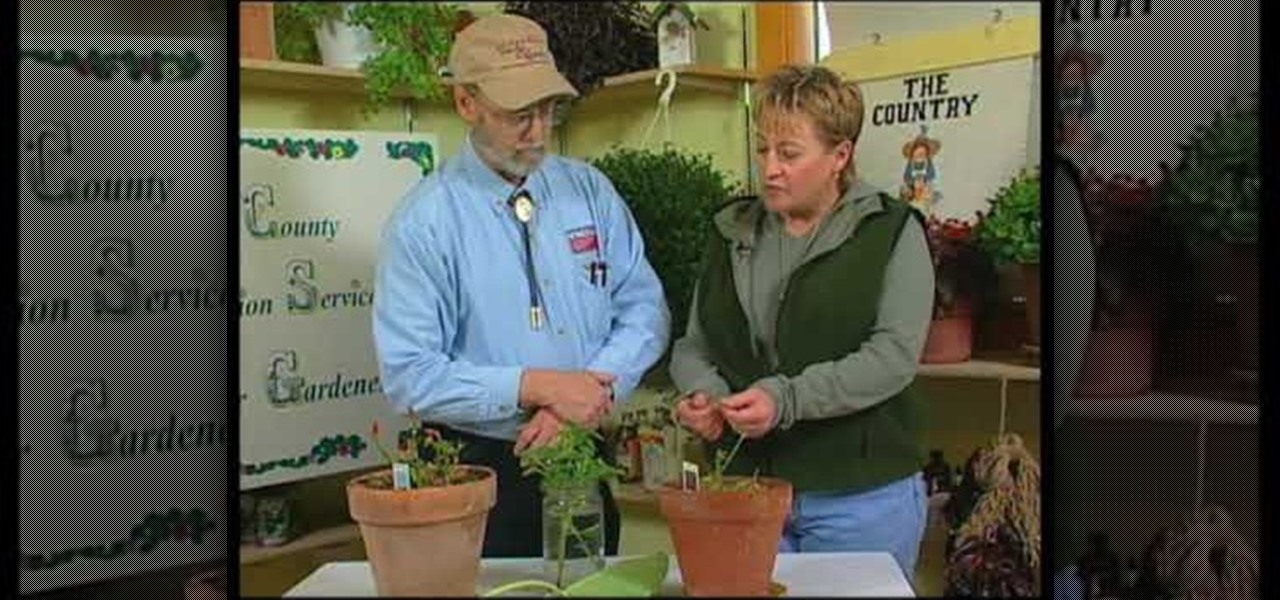
How To: Plant peas in your vegetable garden
There is nothing like fresh vegetables from the garden. Dave Epstein shows us the secrets to planting peas.
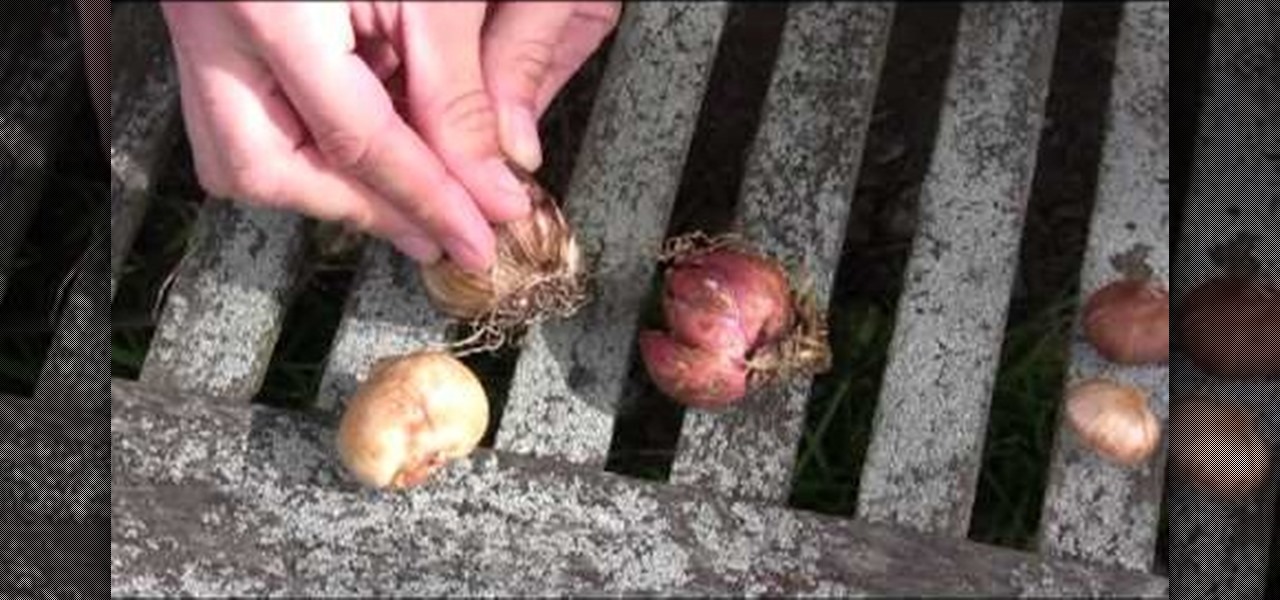
How To: Plant bulbs
Scott from Spring Hill Nursery with Step by Step Gardening talks about planting fall bulbs. Planting bulbs is very easy. You just need a shovel, good soil, and lots of water. The bulbs he plants are tulips bulbs, lily bulbs, glad corms, and iris rhizomes. All of these must be planted in the fall to bloom in the spring. It's easiest to dig one big hole - about 6-8" deep - and plant all of your bulbs at once. A random pattern yields a natural look. Once you've placed your bulbs, put about 2"-3"...
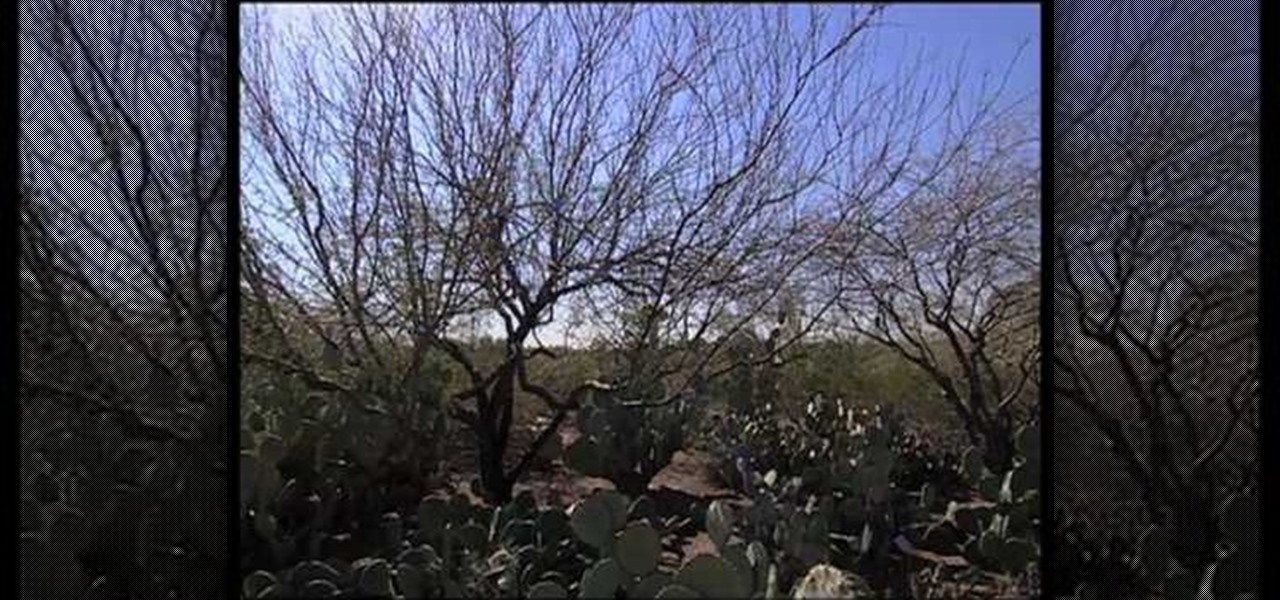
How To: Process southwestern desert plants for eating
In this video, Ruth Greenhouse teaches us how to process native plants for eating. The Mesquite desert plant is a great fuel as well as good for beans in the summer months. One way to use the beans is to pick the dry beans when they are ripe (they will be tan) and you can grind the pod into a fine powder, which will make a flour that is healthy. You can mix this flour with water and it can be a healthy beverage. It can also be added to cookies and breads to make them sweeter. Another plant is...
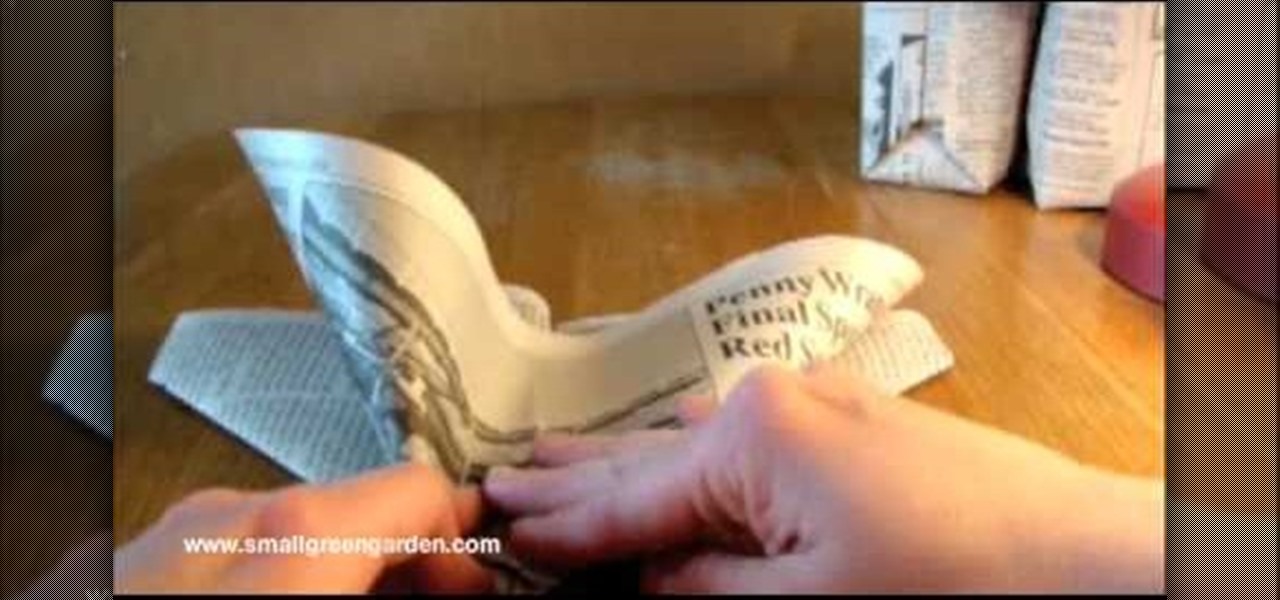
How To: Make ground-plantable paper pots for seedlings
This video demonstrates how to fold a newspaper seedling container using a simple origami method. This is a free idea that incorporates recycling. Not only do these paper containers stand up well to moisture, they also will break down in the soil if you place it directly into your garden. Begin by using one half sheet of black and white newspaper. Lay it out length wise and fold it in half from top to bottom. Then fold it left to right. Next turn the paper so it is horizontal with the open si...
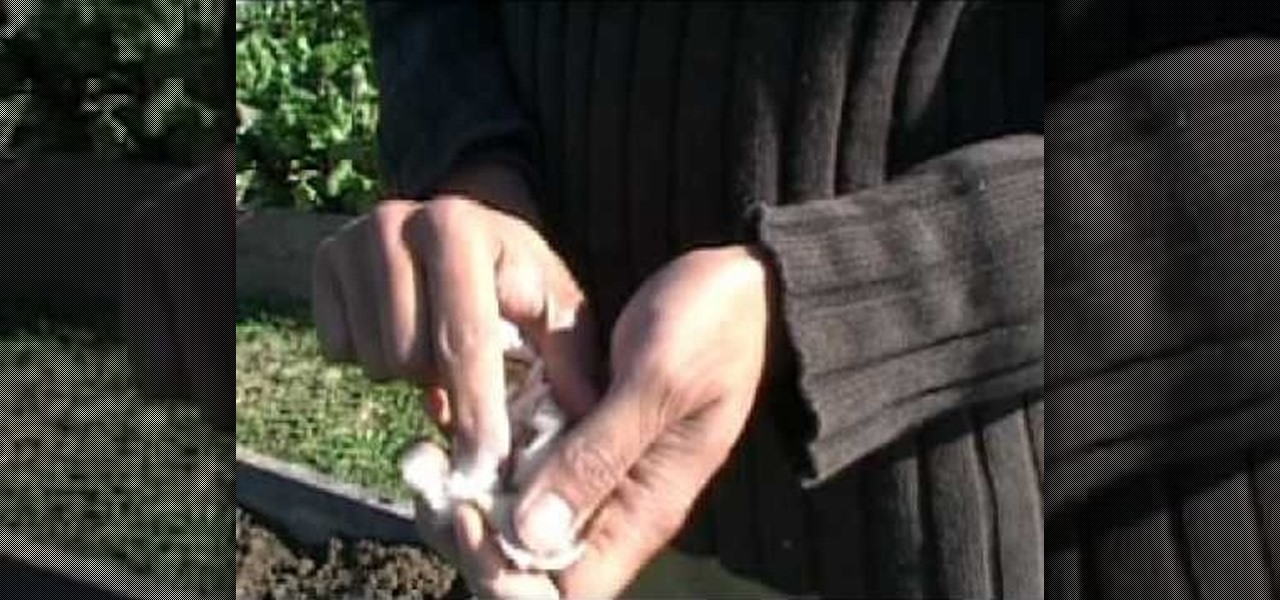
How To: Plant garlic in your garden for a plentiful harvest
David Epstein provides tips and shows garlic lovers how to plant garlic in their very own garden. It is best to grow garlic in the fall season from the months of September to November when the temperatures are cooler. Some people grow garlic in the spring, but it’s been found that growing garlic in the fall time will give a better crop. To begin, gather some plantable garlic bulbs making sure that you find ones that are either organic or from a seed catalog. At all cost, avoid conventional ...
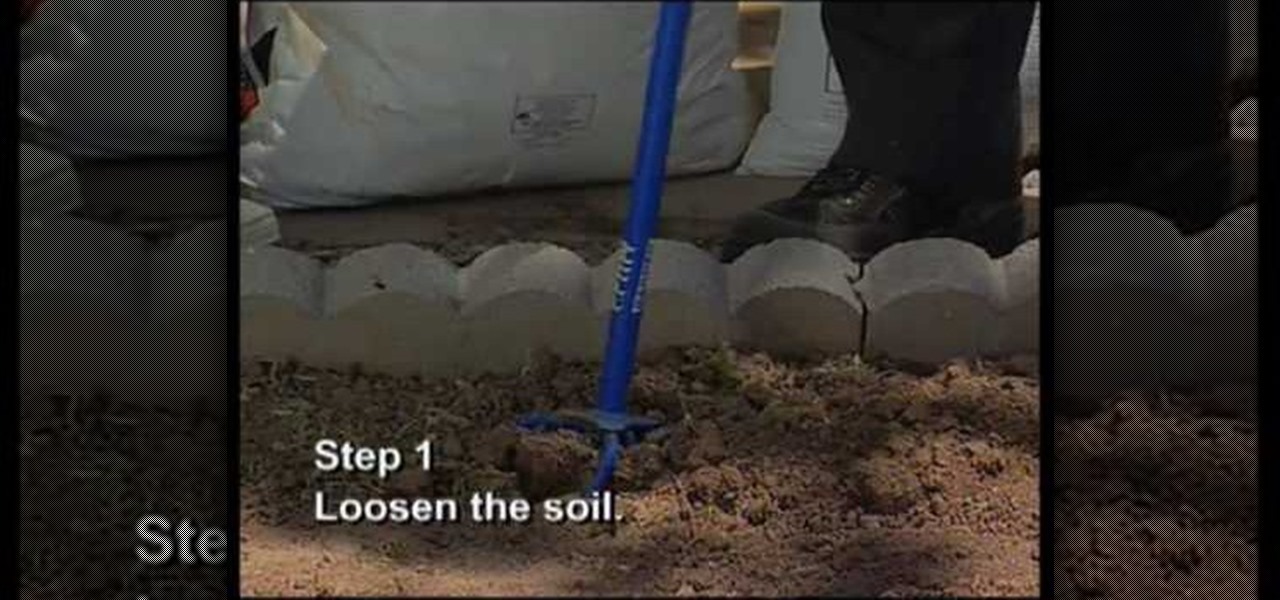
How To: Prepare soil for planting irises
Southwest Yard and Garden shows viewers how to prepare the soil in order to plant Irises. You can see if your oil needs to be prepared because it would look like it need nutrients. Irises deplete the oil they are in so you need to restore their nutrients to the soil. First, you should get your soil tested to see what nutrient should be added to the soil. First loosen the soil. Next, add in the nutrients. Start with alfalfa pellets to add Nitrogen. Add a little bit of sand to loosen soil - don...
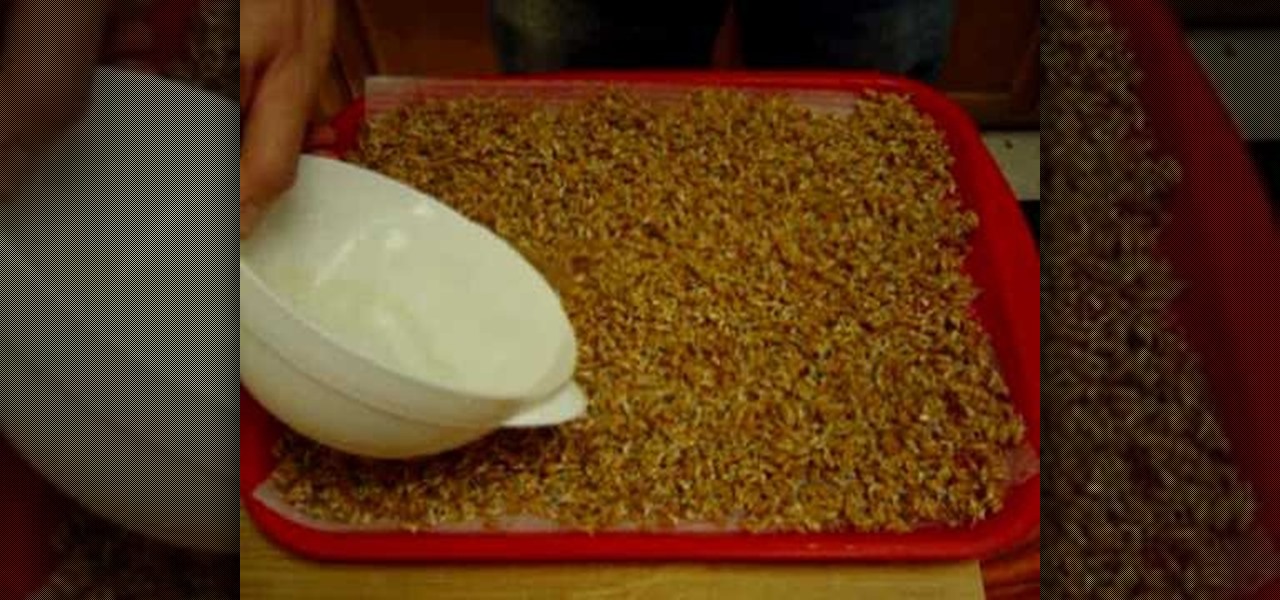
How To: Grow soilless weatgrass
The video takes you through steps on how to grow wheatgrass without the hassle of using soil. Before using this method, prepare a batch of sprouted wheatgrass. It’s advised that you should let the seeds sprout in a jar for two to three days for best results. When the wheatgrass is ready, place two or three layers of paper napkins on a large, flat try. Moisten the paper towels but don’t over-flood it. Then take your jar of wheatgrass and evenly spread the seeds on top of the paper towels. ...
How To: Build & maintain a worm composting farm
Looking to make a worm composting bin? Look no further. This video vermiculture how-to will see to it that you know everything you need to know to start your own worm-assisted compost process. For more information, including detailed instructions on setting up your own worm composting bin to generate fertile soil for your home garden, watch this free gardener's guide.

How To: Vertical mulch a tree
This video will show you how to take good care of your trees by feeding the roots with verticle mulching. Drill holes in the soil about 15" deep, and put in compost and nutrient materials. Use an auger to drill several 3" holes around the tree. It works best when you moisten the soil first. Use a spade and trowel to fill the holes with the compost and nutrient mixture. You can also use a spading fork to break the soil, sprinkle the mixture on, and the mixture will fall into the cracks in the...
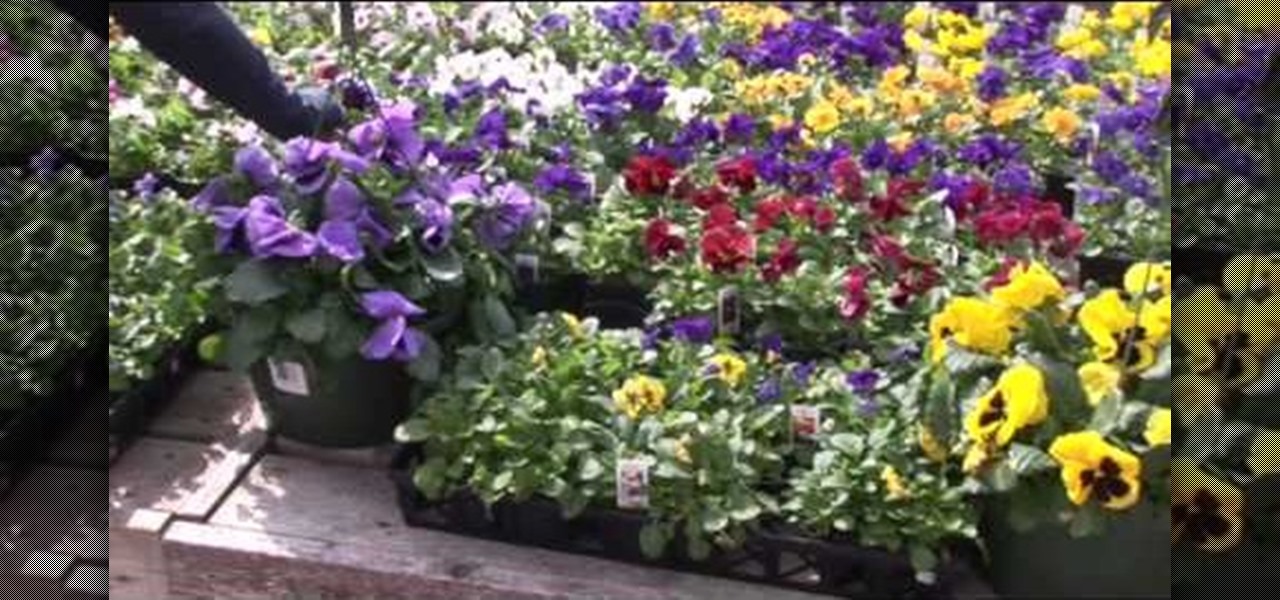
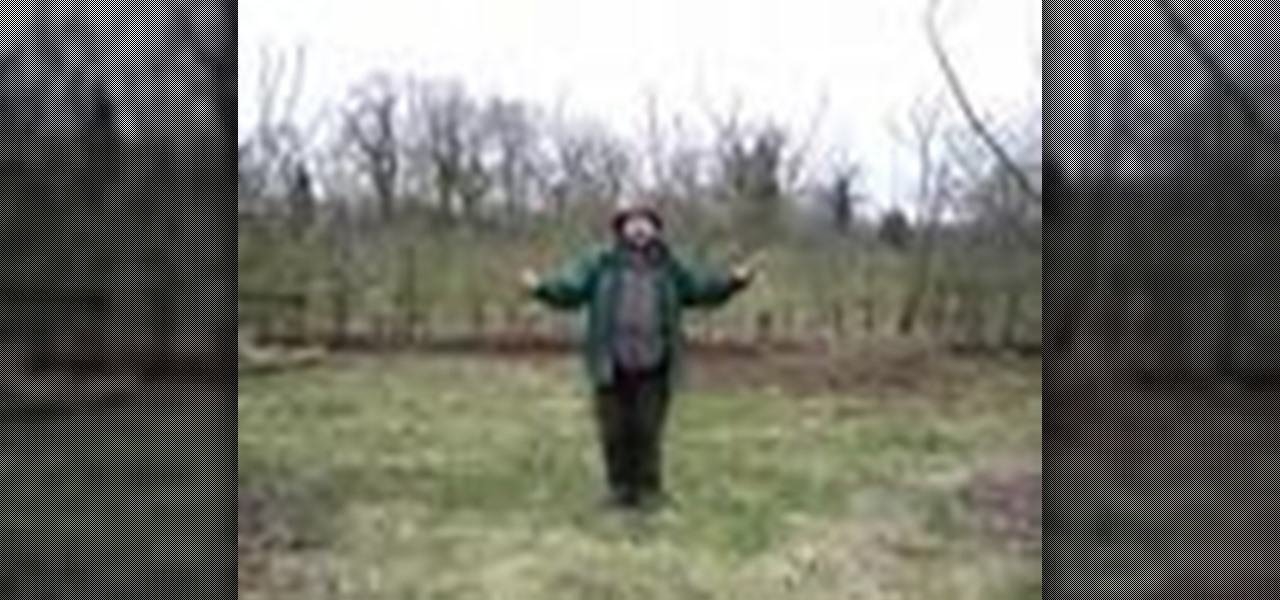
How To: Keep your pansies healthy year round
How to keep your pansies healthy year round

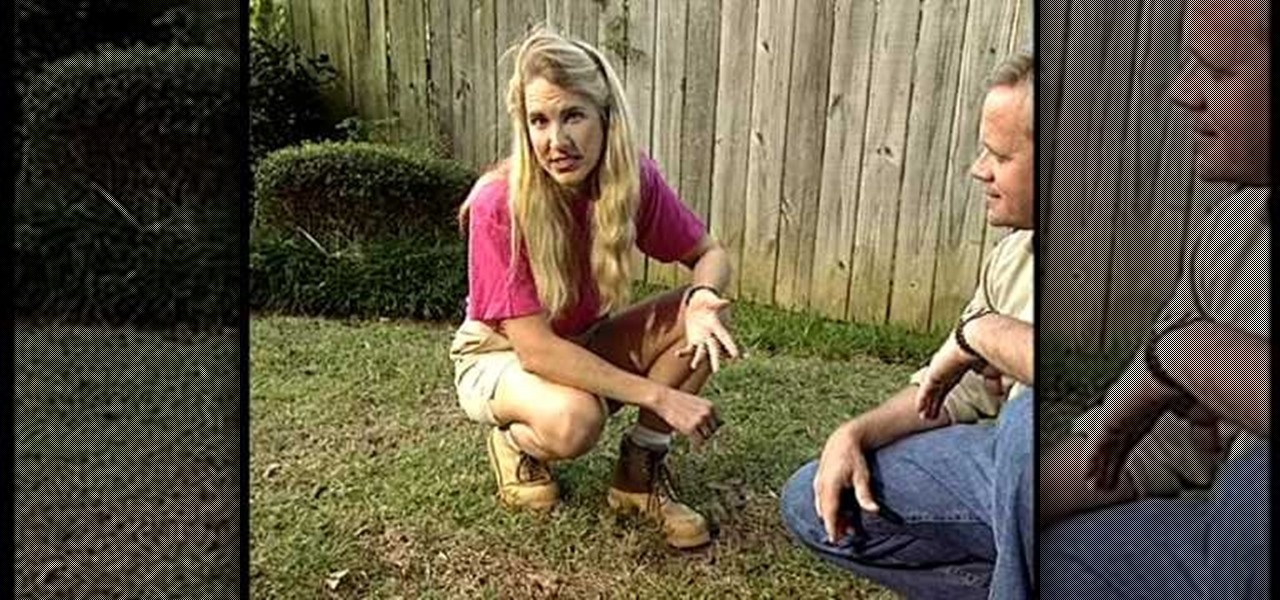
How To: Rabbit proof a garden
Small creatures like rabbits can be a large problem for gardeners when they begin to feed on garden plants. John White shares some tips on how to keep rabbits from ruining your plants. Rabbits will feed on almost anything, especially when they’re starving, so it’s hard to rabbit-proof everything. However, you can still try to save the plants that are most prone to dying with rabbits and rodents in the area. For instance, if you just planted a young tree, you can put netting around it with...
How To: Make compost in your backyard
In this how to video, you will learn how to make your own compost heap. Compost is nature's own living fertilizer. It can be purchased at stores, but you can also make it yourself. This can be started in any weather and at any time of the year. Tree trimmings, grass clippings, food scraps, coffee grounds, saw dust, and even dryer lint can be used for compost. Any mix can be used. The critical ingredient is oxygen. Coarse and soft mixes should be used. Water is also important. You want living ...

How To: Grow your own grass with Roger L Davis
If you want to grow your own grass you should first get some hard winter wheat berry or grass seeds to begin to grow. You should sprout your seeds by measuring out 1 pound of seed that will be grown in a 17 x 17 inch tray. Fill a jar with a mixture of water and a solution for ocean minerals and 1 lbs of grass seeds and let them sprout. This will expand in the jar. This should take about 12 hours. Now, drain the water from the seeds, let this dry for 6 -8 hours, rinse the seed. Now, put half a...

How To: Revive an orchid
Orchids are amazing flowers to grow, but you have to do it just right. If your orchid is starting to wilt or is no longer growing properly, check out this tutorial and get useful tips on how to revive it. In this video, Tom and Joani Maccubbin show you the best ways to re-pot and clean up orchids to keep them living for years. So, before you add this lovely flower to your garden or home decor, make sure you check out this advice, so you can enjoy them for a long, long time.
How To: Plant an orchid
Orchids are a beautiful sign of spring and give off a lovely aroma in anyone's yard.

How To: Care for a Cymbidium Orchid
Cymbidium orchids are beautiful flowers. They are perfect decorations for spring time, Easter and many other occasions. If you are thinking of using these lovely flowers around your home or garden, check out this tutorial and learn how to care for them properly so that they last a long time.
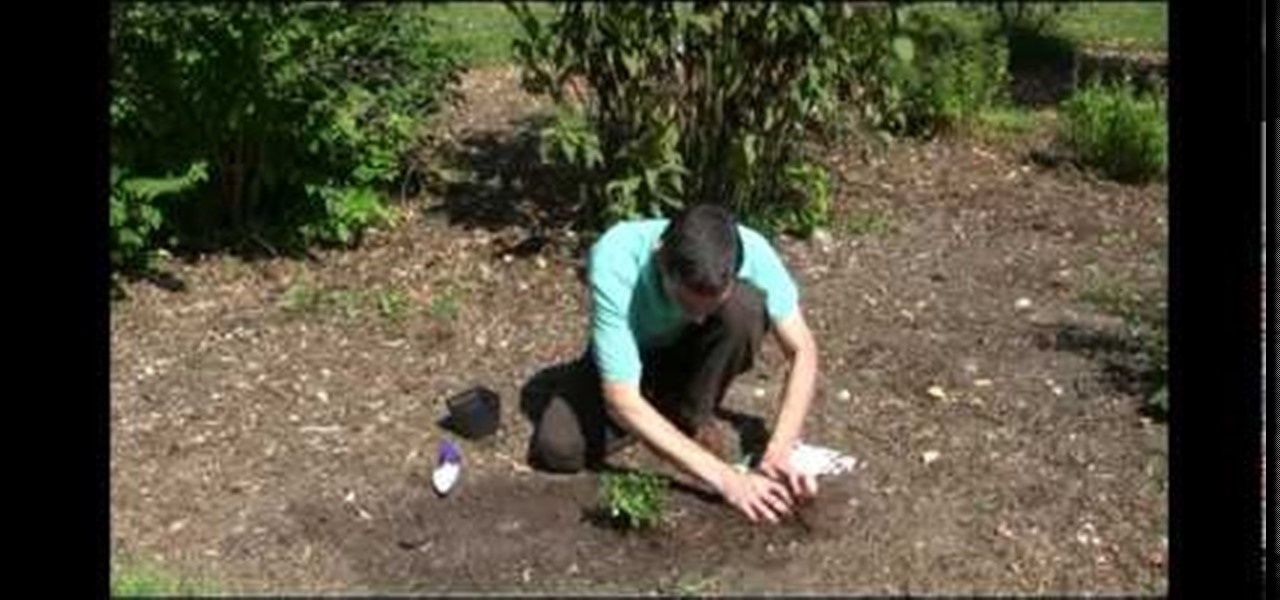
How To: Plant a hardy mum
Spring Hill Nurseries shows viewers how to plant Chrysanthemums, or hardy mums, in this video. The mums should be planted in early spring. First, choose a place to plant. You should choose an area that has a lot of direct sunlight. You should also plant in an area that has good soil for growing plants. If this is impossible, mix some compost with the soil in the spot you wish to plant in. If you are planting more than one mum, make sure you have enough room to space them two feet apart.
How To: Prepare & lay pavers in a multi-level adjoining area
The Gardening Guru demonstrates how to prepare and lay pavers in a multi-level adjoining area. First, get a garden stake use it to measure the evenness of the terrain and to set the height. Put the leveling tool on top of the pavers to even out the dirt. Then, lift out the rails. Once the rails are removed, you can then set the pavers directly on the dirt. If you prepare your area correctly, you will save a lot of time when you execute the actual project. This technique is useful when dealing...
How To: Grow tomatoes indoors
Contrary to what you may have heard, small tomato plants can be easily grown indoors given the right conditions. This free video home gardener's guide will see that you know everything you need to know to start growing your very own small tomatoes in your home or apartment.
How To: Preserve home-grown herbs
Growing your own herbs is easy. So easy, in fact, that you may soon find that you have more than you know what to do with. In this home gardener's guide, Melinda Myers discusses how to store herbs that you've harvested from your home garden.
How To: Maximize your gardening space
We all want to garden. Gardening is a great, peaceful and relaxing hobby. Unforunately we all don't have 10 acres to grow a big beautiful field of daisies on. Luckily, there are still ways. In this tutorial, learn how to garden anywhere - even without a yard at all!
How To: Grow four easy vegetables in your garden
Fresh veggies are the tastiest way to eat right. They are delicious, as fresh as can be, nutritious and best of all.. free! In addition to all of that, you get the satisfaction of growing your dinner all by yourself. In this tutorial, learn how to plant four vegetables that are so easy anyone can grow them. Even the most inexperienced gardener will be able to make these four veggies grow.
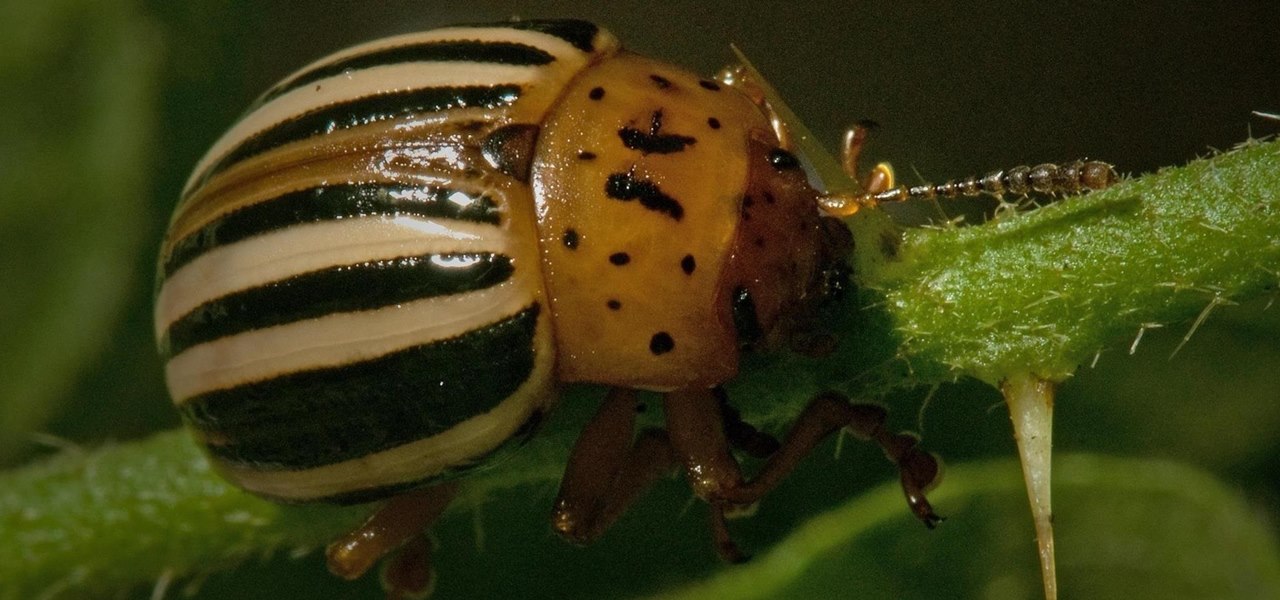
How To: Get rid of three common garden bugs
Gardening can be relaxing in the summertime. The sun is shining, the flowers smell delicious and it can be great exercise..it would be absolutely perfect if it weren't for all those pesky bugs.
How To: Fix bare spots in your backyard
Want to get rid of unsightly bare spots in your front or backyard lawn? In this video tutorial, home improvement expert Danny Lipford shows you three different solutions for fixing small dead spots of grass in your yard. For more information, and to get started reviving your own lawn, watch this helpful landscaper's guide.
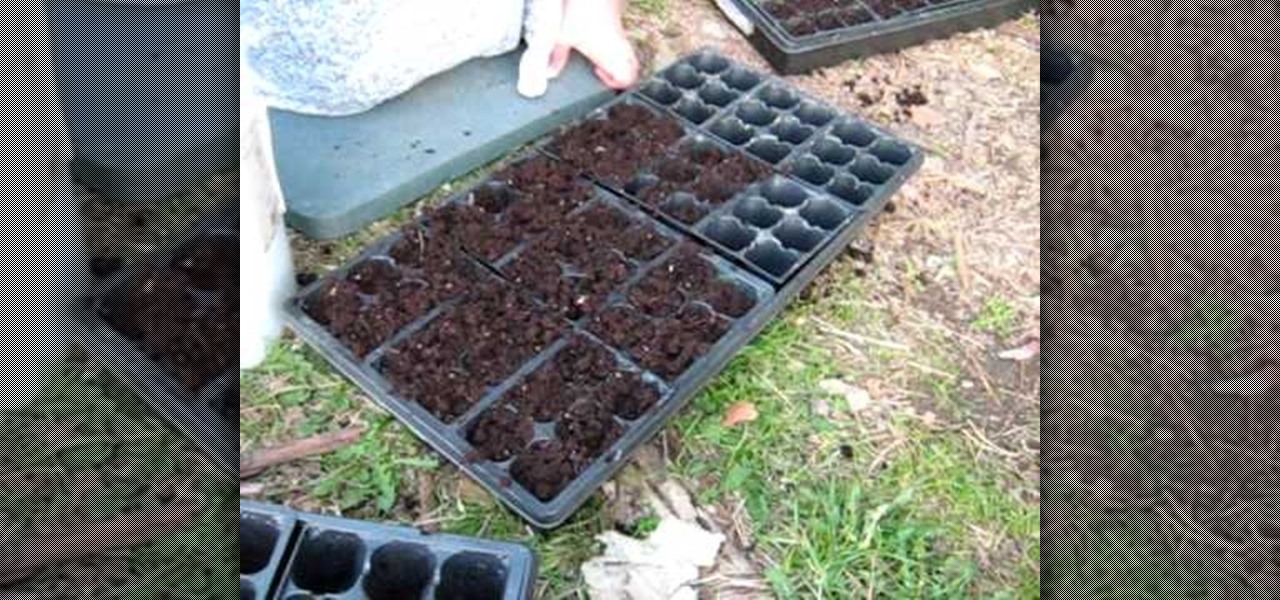
How To: Start your own seeds
While ready-to-go seedlings have their place, it's also useful (and considerably cheaper) to know how to start your own seeds, which is where this free gardening tutorial comes in: with it, you'll learn how to germinate your own seeds for planting in your garden. Specifically, this tutorial looks at how to start tomato seeds.
How To: Grow different types of garlic
You may know your onions but do you know your garlic? If not, you'll be well served by this gardener's guide, which presents an overview of the different varieties available for planting (including soft-neck, hard-neck and so-called elephant varieties) and provides tips on actually planting the stuff in your own garden.
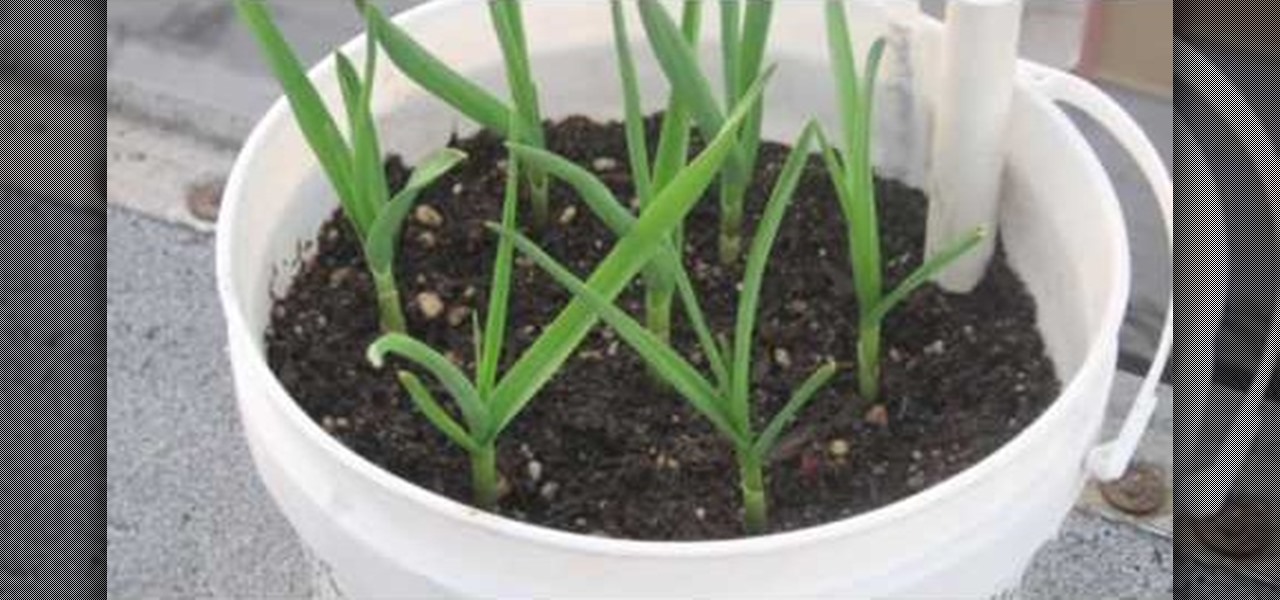
How To: Plant garlic in containers instead of the ground
Whether you lack the space in your home garden or simply want to exercise greater control over your plant's interactions with the surrounding environment, container gardening is a great way to go. And it's also easy to do. With this home gardening how-to from Growing Wisdom, you'll learn how to plant and grow garlic in your own container box.
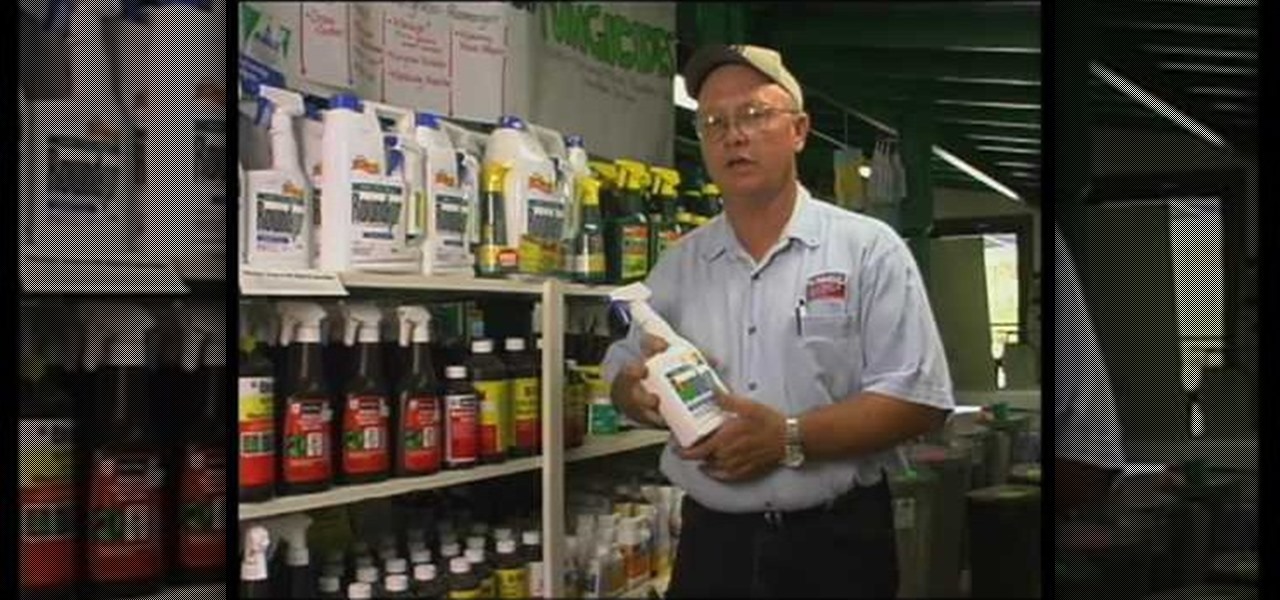
How To: Control snails & aphids
In this video, Extension Horticulturalist Curtis Smith talks with Master Gardener Marsha groves about controlling harmful pests that are damaging to plants throughout the year in both outdoor garden and greenhouse environments. The first part of the video covers the issue of plant eating snails, and how they might best be dealt with. Smith explains that there are a number of non-toxic methods which one can use to rid a plant of snails. The process of introducing predatory creatures such as tu...
How To: Identify insects in your trees
This will illustrate us how to identify various kinds of insects in the trees. here are the following steps :Step 1: First of all get a Pictorial version of book based on insects.Step 2: Now on the tree look for various kind of insects and as well as there eggs laid by them.Step 3 : now look for the pictures in the book and match these with the insects on the trees .Step 4 : To be confirmed about the right identification look closely for the shape of the legs off the insect and as well as the...
How To: Identify aphids or whiteflies on your ash tree
County expert John White determines how to solve some pesky plant problems for the area. The first problem - cutter bees on Crepe Myrtle - is an obvious one, with the deep curved "bites" showing on most of the leaves. He suggests using an insecticide but then points out the signs of a second problem - beetle damage. Crepe Myrtle is prone to beetle infestations and he advises to get out a flashlight and look for them at night when they are at their worst. A problem with heat scorching on Euony...
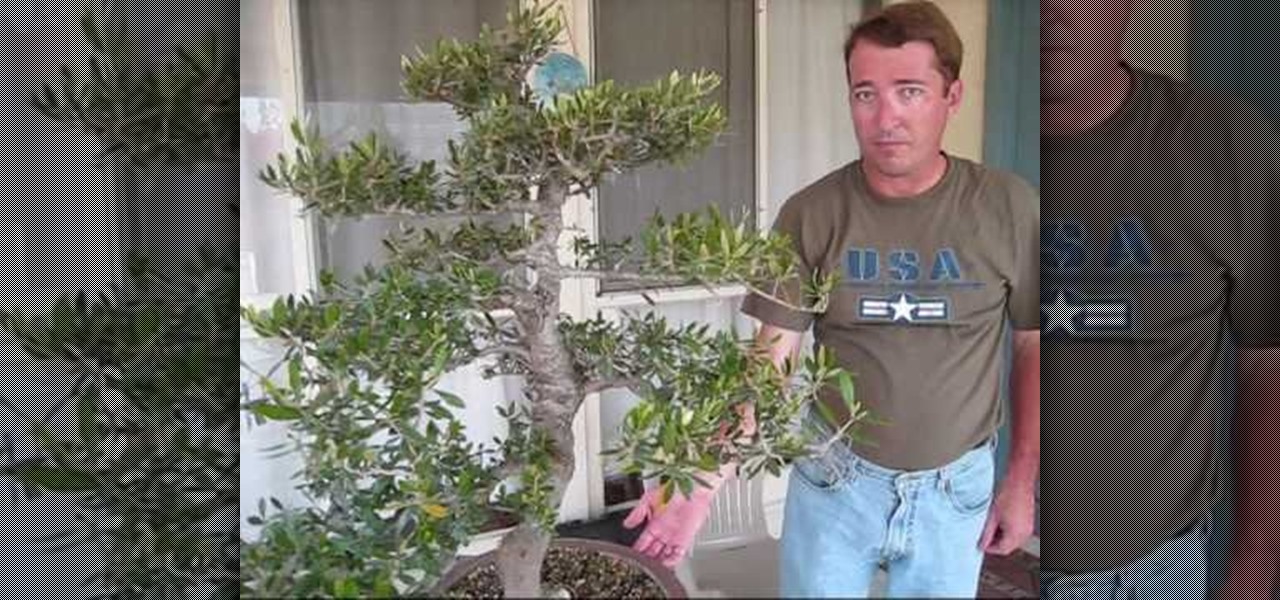
How To: Prune an olive bonsai tree
This video explains how to prune an olive bonsai tree properly. the olive tree used in the video is an europaea tree bought from an exclusive bonsai tree company. The way the tree is pruned are by cutting the tree so that that it has an upward shape to stimulate vertical growth. It is explained that a process known as "cut and grown" are used with the olive tree because it makes the tree grow much faster and produce more fruit. Any branches or leaves that are unnecessary to the vertical growt...
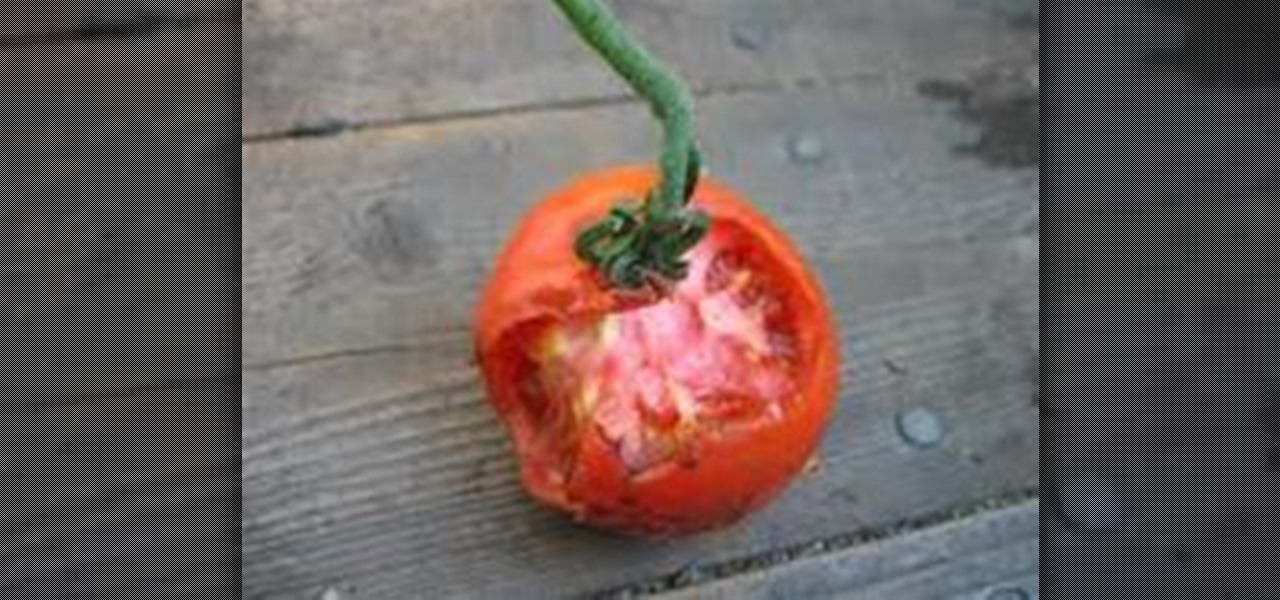
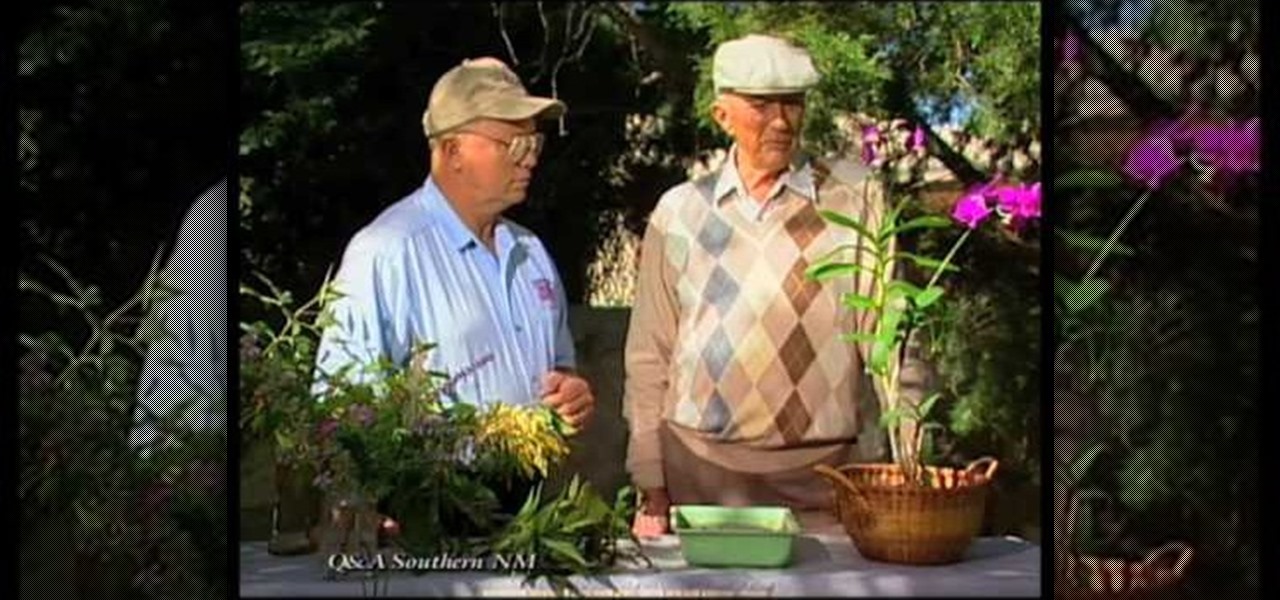
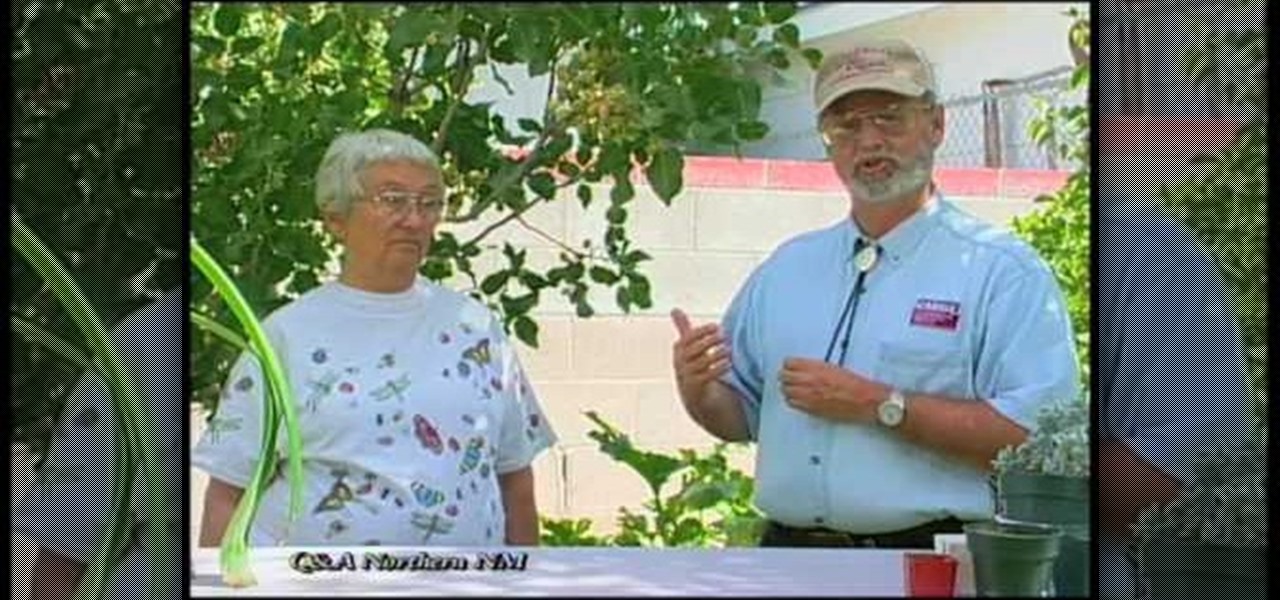
How To: Identify problems with a silver berry & tomato plant
The video answers questions on whether containerized tomato plant need to be replanted, problems with yellow tips of an oleander and spots on a silver berry shrub. The tomato plant may be replanted in a bigger container and staked/caged to avoid wind damage. If planted in the ground, it is recommended to plant it at an angle, up to the first branches because tomato plants are able to set out adventitious roots. The yellow and brittle leaves of an oleander is also identified as the result of f...

How To: Make a compost pile with green and brown materials
How to make a compost pile with green and brown materials
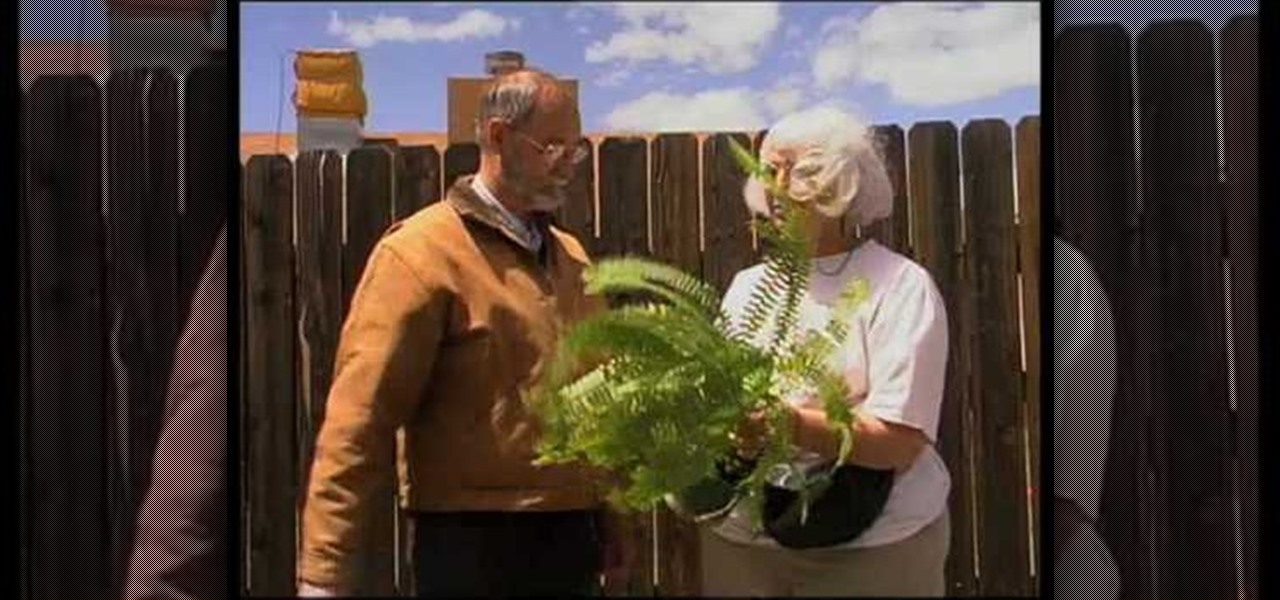
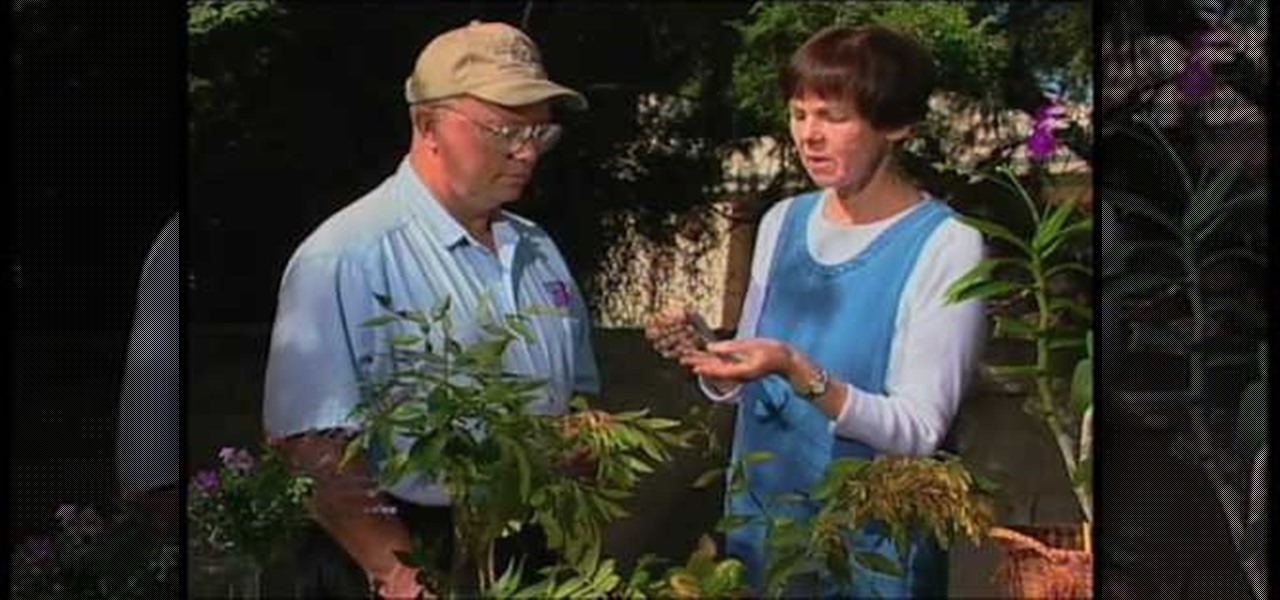
How To: Identify problems with the peace lily, fern & rhubarb
This video explains how to solve several problems associated with gardening in arid environments. Rhubarb is a plant that is commonly grown in colder environments. In arid environments, its very important to not over water it, so keep it in a sandy soil with lots of organic compost material. Plants such as the peace lily also need well irrigated soil, so it is important to pot it in an organic potting soil in a location that allows the water to drain away from the pot instead of soaking back ...
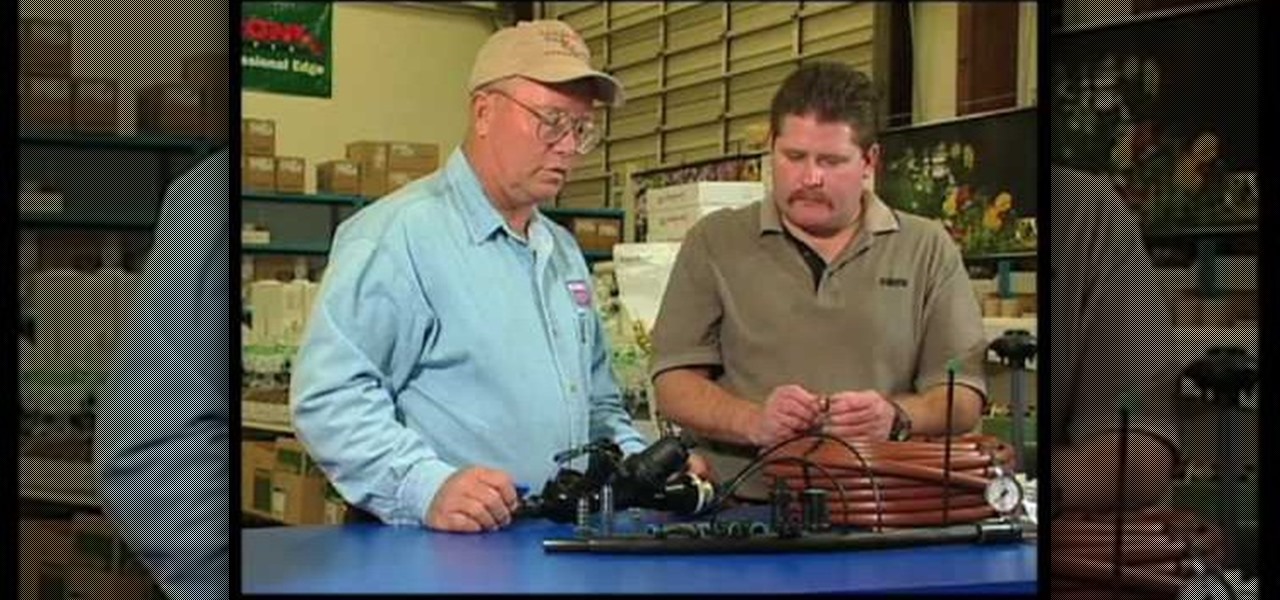
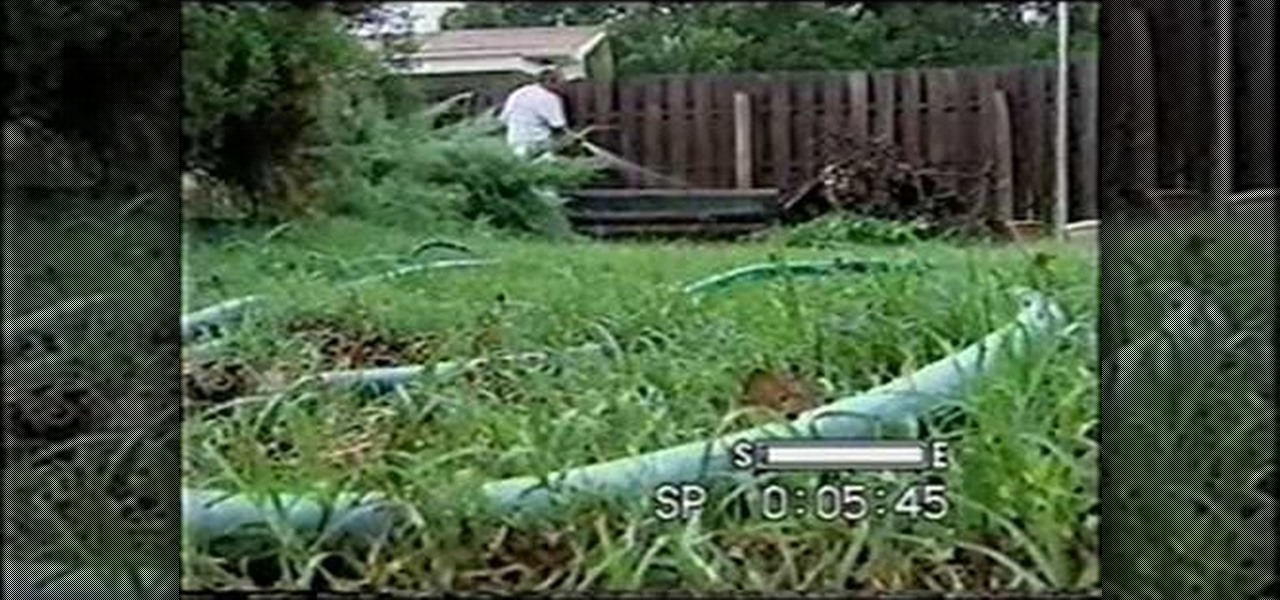
How To: Build a proper drip irrigation system
This video illustrate us how to build a drip irrigation system. Here are the following steps: 1. To build a drip irrigation system you need a pipe, hydro cyclone, screen filter, Pressure building pump and micro filter.step 2: Connect the pipe to the water source and let it pass through the hydro cyclone to settle down all the sand. 3: Now from the hydro cyclone pass it through the pressure gauge for building up the pressure ant then this pipe passes through the network of horizontal and verti...
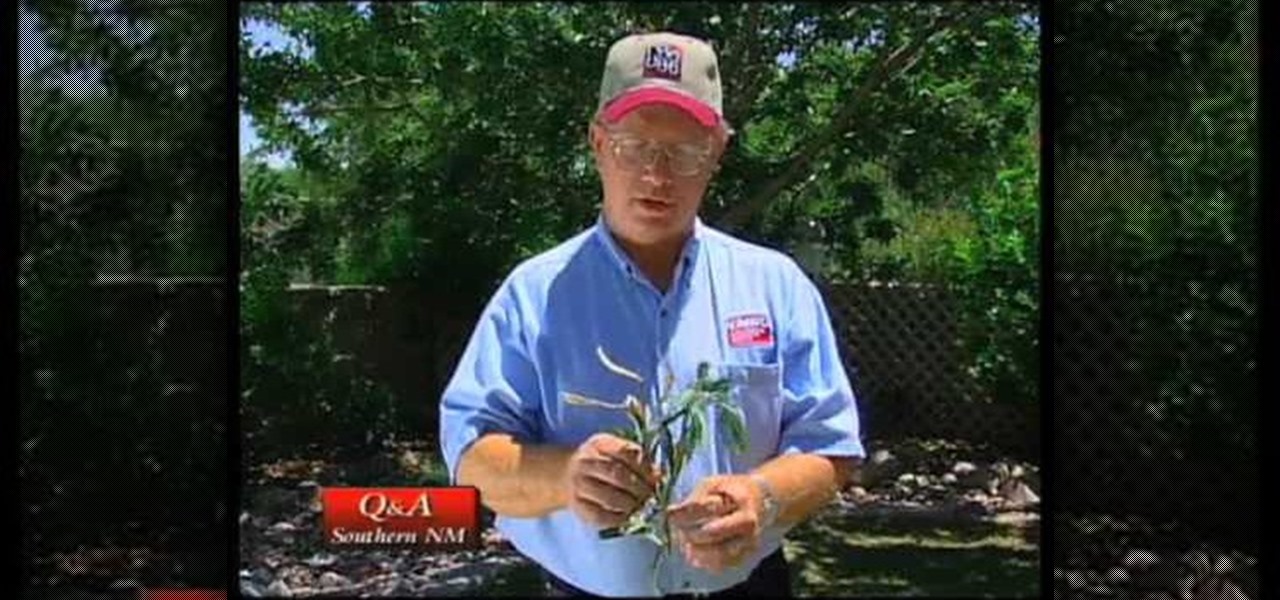
How To: Identify and control common lawn weeds
With rainfall comes unwanted plant growth in the form of weeds. Here's how to identify and control them. First is Nutsage which has a glossy green leaf, triangular stem and the rhizome sends up new plants whenever you cut away at it. Next is jungle rice which is an aquatic weed, from areas where there is a lot of moisture. It can be identified by it red/purple chevrons. Use herbicide to take them out before they get too large. Next is pigweeds, to get rid of it you can use weed killer or a ho...

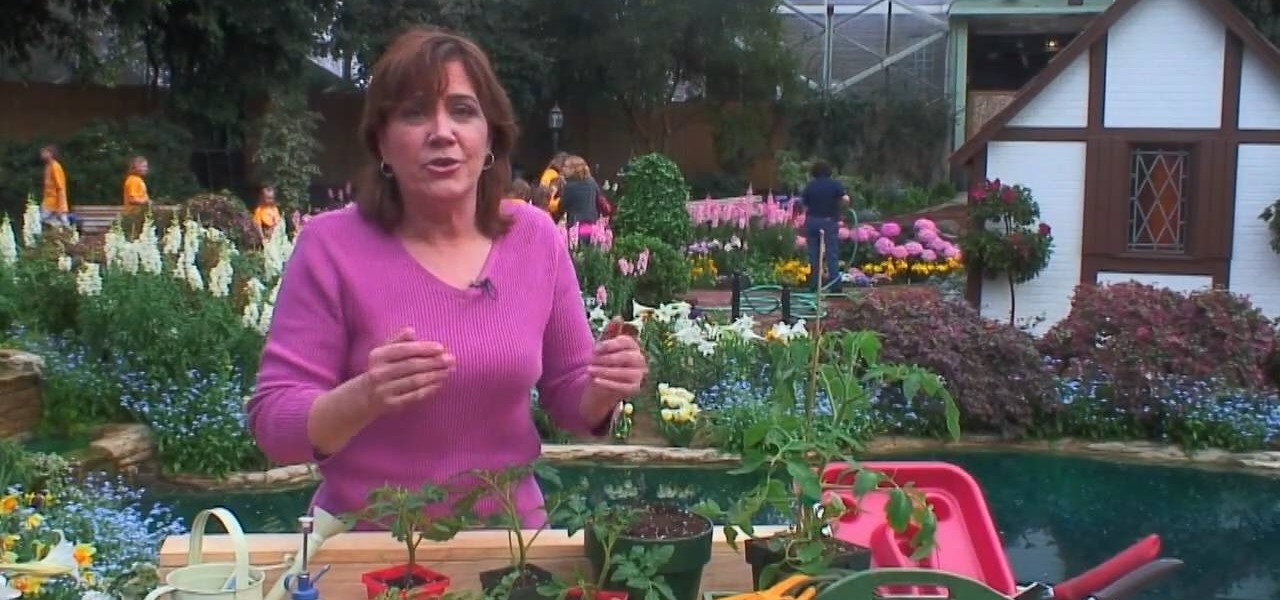
How To: Save tomato seeds
In this video tutorial, viewers learn how to save tomato seeds. Begin by selecting the type of tomato that you would like to grow again next year. Once selected, simply cut the tomato in half and scoop or squeeze out the seeds into a jar. Pour a bit of water and close the jar. Put the jar away for 2 days, as it will smell. The seeds will be undergoing a fermentation process as this time. Then take the tomatoes and drain the through a sift. Now wash the tomato seeds with some water and let the...